Once you're done editing in Adobe Premiere, the next step is getting your project out of the timeline and into a format others can view. That means exporting. Whether you're sending off a quick draft, creating a file for social media, or delivering a final high-resolution version for broadcast, there are several ways to export from Premiere – and each one has its place, depending on what you need. Here's how to do it in every way possible.
How to Export Videos from Adobe Premiere: All the Ways You Can Do It
1. Export Using Media Encoder Queue
If you keep editing while your video exports or have several videos to export one after another, Media Encoder is the best option. Once you're happy with your Sequence, you can send it straight to the queue.
Go to File> Export > Media or hit Ctrl + M (Cmd + M on Mac). A panel opens where you choose format, preset, and output location. But instead of clicking "Export," hit "Queue." This sends your export to Adobe Media Encoder. Once Media Encoder opens, press the green play button in the top right corner to start the export.
You can close Premiere while Media Encoder does its thing without interfering. This is especially useful when working with long sequences or rendering in the background without tying up your editing software.
2. Export Directly Through Premiere Pro
This method is the fastest for exporting a single video, especially when you're not planning to do anything else in Premiere during the export. Again, use File> Export > Media or Ctrl + M. Choose your format — H.264 is often the go-to for most platforms like YouTube, Vimeo, or general use.
Select a preset if you don't want to manually set bitrates or resolution. For example, if you're uploading to YouTube, the preset "YouTube 1080p Full HD" handles most of your settings. Once you set the output location and name your File, hit the blue "Export" button. Premiere will start rendering and exporting, but remember that you can't edit it while exporting this way.
3. Match Sequence Settings Export
If your timeline is already set to the resolution, frame rate, and codec you want for your export, you can check the "Match Sequence Settings" box in the export window. This makes Premiere export the File with the same settings as your Sequence.
This is a quick way to create a preview or a working file, especially if you plan to convert it later in Media Encoder or another program. These files often come out large and in formats like MPEG or MXF, which are good for archiving or further editing but not ideal for online use.
4. Export as an Image Sequence
When your workflow involves animation or graphics-heavy projects, sometimes exporting as a video isn't the best option. Instead, you might want to export a frame-by-frame image sequence.
In the export window, change the format to something like JPEG, PNG, or TIFF, and Premiere will export every frame of your Sequence as a separate image. These are stored in a folder, and you can later stitch them back into a video using Media Encoder or After Effects. This is often used when dealing with motion graphics, stop-motion animation, or stylized effects.
5. Export Audio Only
Sometimes, you just need the audio—maybe for a podcast, a sound mix, or background music. In that case, change the format to MP3 or WAV in the export window. The premiere will export just the audio track, leaving out the visuals.
You can also go into the export settings, deselect "Export Video," and ensure "Export Audio" is the only thing checked. This helps if you want to hand off the soundtrack to a mixer or do additional mastering elsewhere.
6. Export Using Smart Rendering
Smart Rendering is an incredibly useful feature that's often overlooked. If your Sequence uses preview files in a codec that supports Smart Rendering (like ProRes or DNxHD), Premiere can use those preview files during export, which speeds things up.
To take advantage of this, ensure you rendered your timeline using Sequence> Render Into Out and that your preview codec matches your export codec. Then check "Use Previews" in the export window. It doesn't always apply, but when it does, you'll see faster exports without a drop in quality.
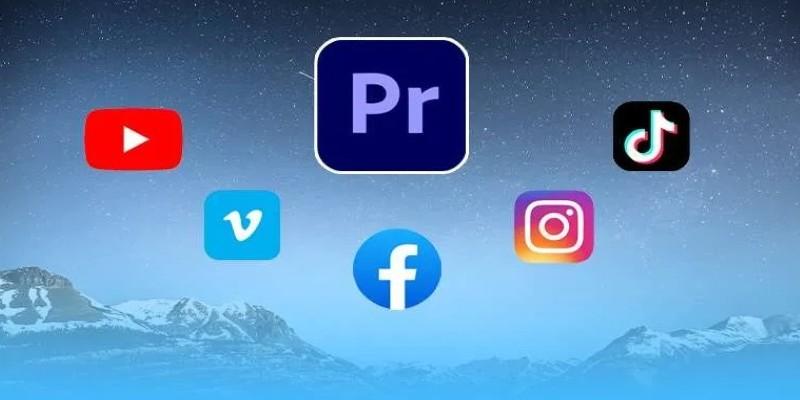
7. Export for Social Media (Direct Upload)
Premiere Pro also allows you to export and upload directly to YouTube, Vimeo, and Facebook. After you choose your export settings, you will see a "Publish" tab in the export window. You can sign in to your account and add a title, description, and tags, and Premiere will upload them for you right after the export.
This saves time when you’re working on fast turnaround projects and don’t want to go through multiple upload windows. It’s best used when the export preset matches the platform’s needs (for example, YouTube 4K or Facebook 1080p).
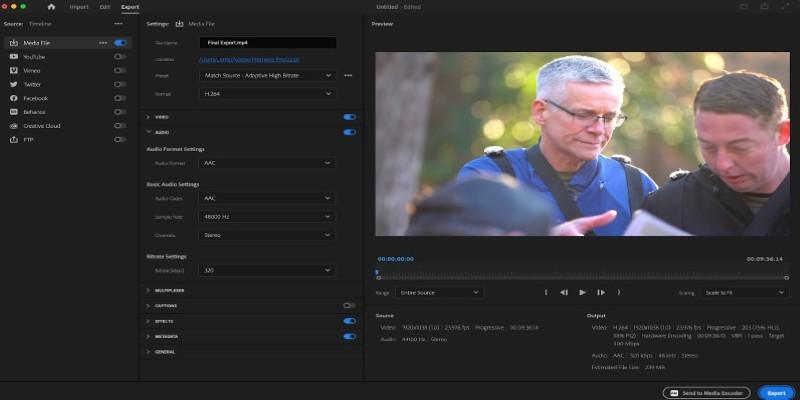
8. Use the New Export Mode (Premiere 2022 and Later)
In newer versions of Premiere, Adobe introduced a redesigned export interface. Instead of the classic export panel, you now have an "Export Mode" with tabs: "Media," "Destination," and more. You can still export using the same presets and formats, but now there's a built-in step where you choose where your video will go — local File, social media, or creative cloud.
While this mode looks different, it's doing the same job under the hood. The main difference is how the options are organized. This layout is cleaner for beginners, but everything from the classic export is still there if you know where to look.
In Closing
There's no single right way to export from Adobe Premiere—it all depends on what you're doing. Whether you're after speed, quality, convenience, or compatibility, Premiere gives you more than one route to the final product. Once you know what each method is for, picking the right one becomes part of the editing process.